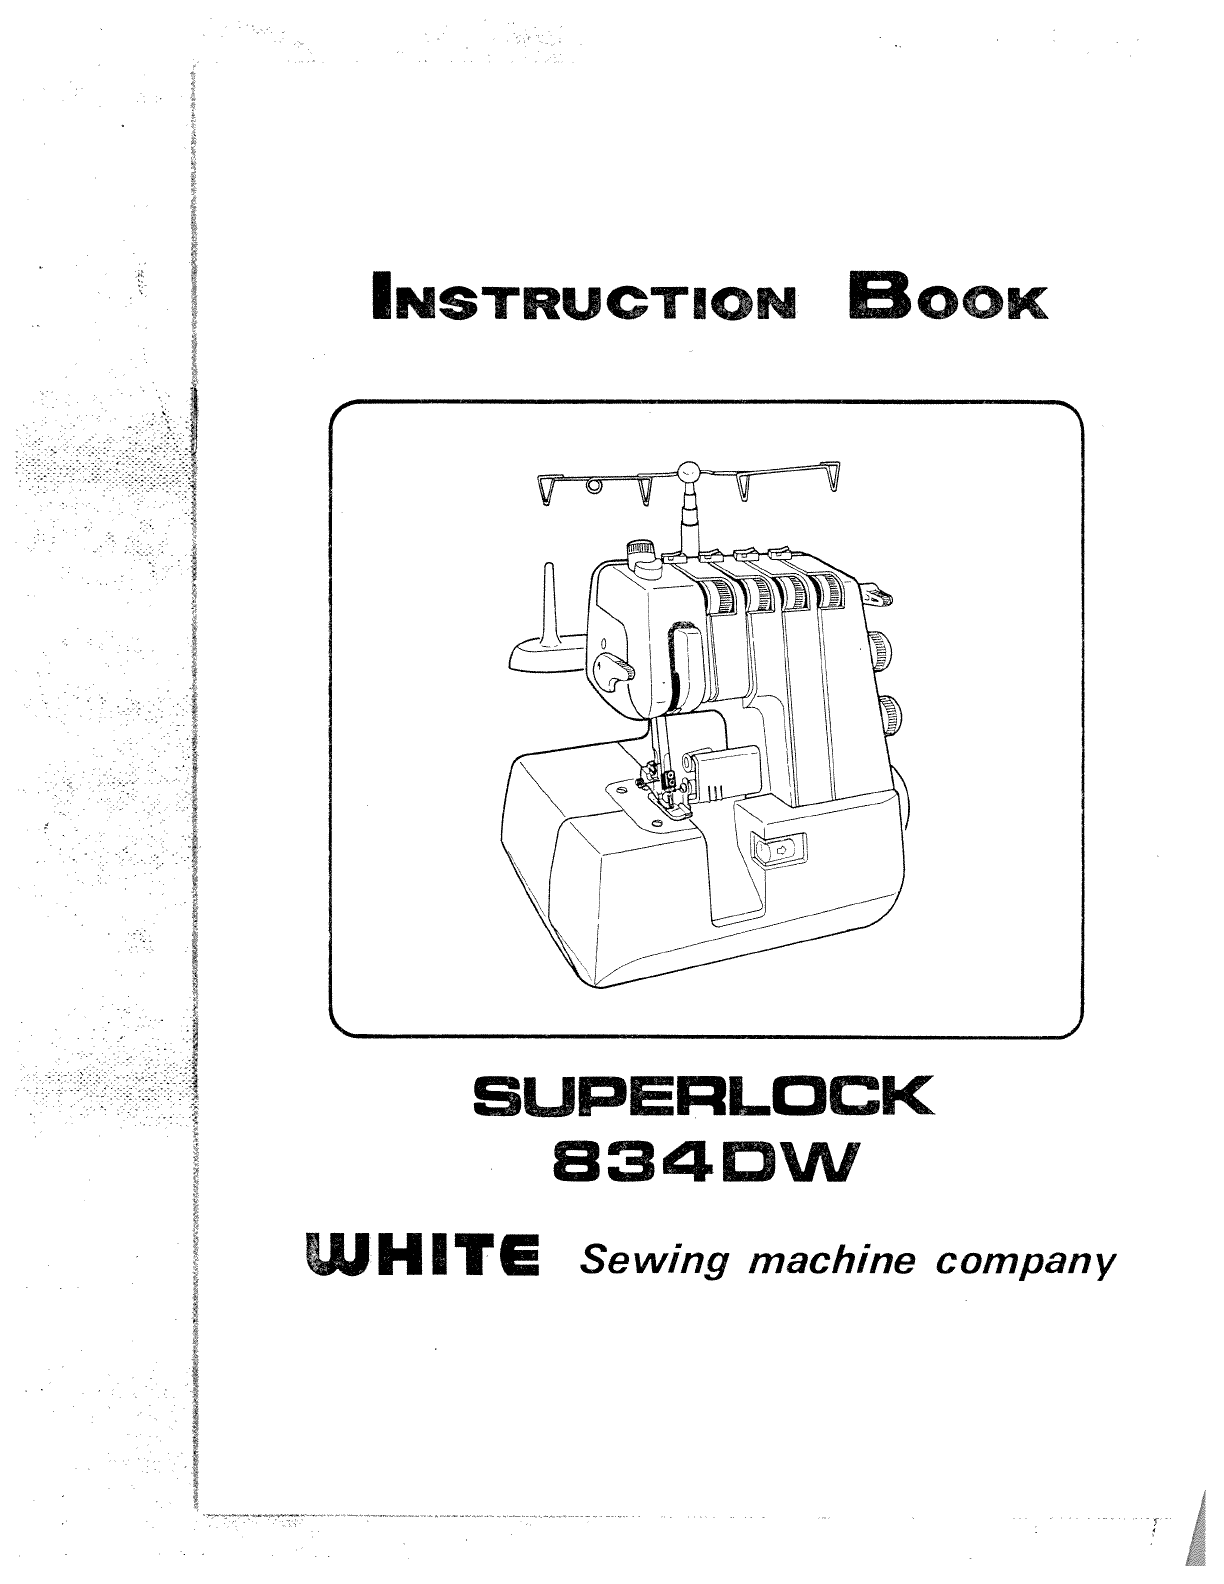
White Superlock 834DW User Manual
Browse online or download User Manual for Sewing machines White Superlock 834DW. White Superlock 834DW User's Manual
- Page / 37
- Table of contents
- BOOKMARKS
- POLARIZED 2
- INSTRUcTIONS 3
- INSTRUCTIONS 4
- CONTENTS 5
- Telescopic 10
- Thread Stand 10
- Replacing 11
- Threading 12
- Beginning 15
- Adjustment 18
- DFFERENTAL 21
- OVERLOCK 22
- SelecUon 26
- 2-Uiread 29
- CHANGING 31
- CLEANING 32
- SERVICING 32
- ACCES$OR1S 33
- S-caking 35
- SPECIF!CA11ONS 36
Summary of Contents
v-IIC0ozw00zmC,,CD(I%CDwwaU)CmDr00
3-2.SettingTelescopicThread StandExtendthetelescopic threadstandtoitsfullheight,thenturnituntiltheshaftclicksintoitslockedposition.3-3.ChangingThreads
ILoosenI—6—Coverthespoolwiththe“NET”asneededtopreventthreadfromslippingdownonthreadcones.Whenusingastandardtypethreadspool,insertthespooladapter(suppl
35.ThreadingWhenthreadingthemachinefromthebeginning,threadingmustbecarriedoutinthefollowingsequence:First:Lowerlooperthreading(A)Second:Upperlooperthr
(2)Upperlooperthreading(8)Bringtheupperloopertoitslowestpositionbyturninghandwheeltowardyou.Drawthreadfromspoolandpassit,throughguidecofthethreadstand
(3)NeedleThreading(C) (D).Foreaseinthreading,turnthemoveablecuttertothenon-operatingposition.(SeePage3).1.Raisetheneedlestotheirhighestposition.2.Draw
4.FOURTHREADOVERLOCKSTITCHUSING2NEEDLES4-1.BeforeSewingIAfterthreadingiscompleted,andwhenthethreadsarenotwoundaroundthestitchfinger,gentlydrawoutthefo
(2)EndIngofsewingSewoftthterialformingachaintopreventthethreadmtyingandtoprepareforthenextsewing.orawmeshedfabricgentlybackwardsandtothe‘efta*memachin
3.ThreadTensionChart,etensionforeachofthethreadtensiondialsshouldbe.fferentaccordingtothepatternstitchesasinthechart‘Dove.3incethefiguresinthechartare
4-6.ThreadTensionAdjustmentSetthebalanceofthetensionasweakaspossible.Totightenthetension,turntensiondialtoahighernumber.Toloosenthetension,turntension
(51CzC,CD0.(0CDCD0CDCD00000CDC00)0)zC,CD0CDCDCDCDCD0)00000C,)CDBCz0.0)0-CD00-CD—DCDCDC’0CD0)0-C,)ö-z::j-(1)CDo--hi0)(D:,-c.0CD00oc0z0CD0P
POLARIZEDPLUGCAUTIONToreducetheriskofelectricshock,thisappliancehasapolarizedplug(onebladeiswiderthantheother).Thisplugwillfitinapolarizedoutletonlyon
5.ADJUSTINGBALANCEOFSTITCHWIDTHANDCUTTINGWIDTHAdjustthecuttingwidthfrom5.2(0.2”)to7.0mm(0.28”)accordingtothekindofmaterial.Thestandardcuttingwidthis5.
1i7.DFFERENTALFEEDpDifferentialDifferentialfeedpreventsstretchingorpuckeringfabrics,sincetwoindependentfeeddogs,oneinfrontandonebehindtheneedles,canbe
8.CORDEDOVERLOCKCordedoverlockcanbeusedtostrengthenandstabIlZestitcheswhenjoiningelasticmaterialssuchasknittedfabrics.Threadnrrowcordorribbonasillustr
9.SEWINGFORCURVEDSEAMSForaneatandcleanfinishofcurvedseams:Forinsidecurves,guidethefabricgentlywiththetrimminglineofthefabricundertherightfrontofthepre
10.THREETHREADOVERLOCKSTITCHUSINGINEEDLEThoughthismachineismademainlyfor 4threadiistitchoverlockusing2needles.,jjj1,Tosewthree-threadstitchoverlockusi
ii11.2-THREADOVERLOCKSTITCHUSINGINEEDLE1.Use1needlethread(leftneedleorrightneedle)andlowerlooperthread.Removeupperlooperthread.2.Attach2-threadoverloc
11-2.StitchSelecUonTabie\\\THREADLeftRightUpperLowerTENSION1NeedleNeedleLooperLooperStitchCuttingStitchPAfl\MATERIALLengthjWidthFingerI3lIl3I[{[3’Dial
t’J-n\£C))0D(DD0—ID::roCD-•-0D-0(0(DCD-‘—DjC)-CDCD—0T:3icDoCD—cDO-—0CD0(0COO-CDcno_-CDDD50CDoi0.0gDDCD(0DO-_CI)-——-‘U)-CDPi-CDD0D—-0-0)FJ—CDCDO-_.0z.0
12.ROLLEDEDGE12-1.3-ThreadRolledEdgeRollededgeisachievedbyrollingthefabricandoverlocking,the2typesasillustratedabovearedealforusewiththinmaterials.(1)
isDARDCHARTFORROLLEDEDGE(3-ThreadRolledEdge)+Adjustasneededaccordingtothekindofthefabricandthethreads.(See.P.29).2.2-UireadRofledEdgeThnvertto2-threac
iITANTSAFETYINSTRUcTIONSWhenusinganelectricalappliance,basicsafetyprecautionsshouldalwaysbefollowed,includingthefollowing:ReadIIinstructionsbeforeusin
13.PNTUCKSPintucksareoverlockedontheedge.Usethecutterasaguidebutdo notcutyourfabric.Pintuckingissuitedtothedesignofachild’sclothingandalady’sblouse.(1
14.REPLACINGLOWERCUTTERReplacingLowerCutterAlignUnplugthemachine(1)Openfrontcoveranddisengageuppercutter.(Seepage3)(2)Loosenlowercutter clampscrewJand
CLEANINGFirstdisconnectmachinefrompowersupplybyremovingplugfromtheelectricoutlet.1.Openfrontcoverandsidecover.(SeePage3)2.Usingthebrushprovided,remove
17.ACCES$OR1SScrewdriversLowercutter(large)(small)TieezersNet(anti-spillsleeves)(IntheAccessorycover.)lcaningbrushVinylcoverntheAccessorycover.)SpoolA
18.TABLEOFSEWINGMATERIALS,NEEDLESANDTHREADSThinmaterialMediumtothickThickmaterial(crepe,georgette)material(thickdenim)(Broadcloth,gabardine,etc.)Needl
19.PROBLEMSOLVINGUndernormalconditions,ifyoucarefullyfollowinstructionforoperating,nodifficultorspecialadjustmentisnecessaryforthismachine.Toliowingca
20.SPECIF!CA11ONSNumberofthreads4.3.or2threadsNumberofneedles2Needles(1needle)NeedlesStandardSCHMETZ130/705HNO:80—90Widthbetweentwoneedles2mmOverlockw
N)LC)C,C)mC),C)rn0m-nmm
WARNING1.Keepfingersawayfromallmovingparts.Specialcareisrequiredaroundthesewingmachineneedle.2.Alwaysusetheproperneedleplate.Thewrongplatecancausethen
CONTENTS1-NAMESOFPARTS12.OPERATIONANDFUNCTIONOFPARTS23.PREPARATIONFORSEWING43-rni.ConnectingPowerCord43-2.SettingTelescopicThreadStand53-3.ChangingThr
I.1.NAMESOFPARTSn1456yLLL\Y/Y/iI;11213141516171819201,Presserfootlift2.Spoolpin22213.Ribboncordquides4.Pressureregulatorscrew5.Telescopicthreadstand9D
I2.OPERATIONANDFUNCTIONOFPARTSHandwheelAlwaysturnhandwheeltowardyou.ChangingPresserFoot)±Switchoffthemachine.1.Raisepresserfoot.2.Raiseneedlestotheirh
StitchFingerKnob(Conversionfromoverlocktorollededge)÷Raiseneedletothehighestpositionbyturninghandwheeltowardyou.ForOverlock:Pushstitchfingerknobtoalig
3.PREPARATIONFORSEW!NG3-1.ConnectingPowerCordConnectfootcontrolandpowercord®Beforeplugginginyourmachine,besurethatthevoltageissameasthatofyourmachine.
Related products and manuals for Sewing machines White Superlock 834DW
 (53 pages)
 (38 pages) (2 pages)
(3 pages)
(38 pages) (2 pages)
(3 pages)
© 2020, manymanuals.com. All rights reserved. | 2.398 s |
 Manymanuals.com
 Manymanuals.de
 Manymanuals.fr
 Manymanuals.it
 Manymanuals.pl
 Manymanuals.cz
 Manymanuals.es
 Manymanuals-pt.com
Comments to this Manuals